Setting up a Jekyll blog using Windows 10 Bash and hosting on GitHub Pages
Overview
I started on a journey to setup my personal Github.io page and I had no prior experience of Jekyll, Ruby or setting up a page on GitHub.
There were some initial hurdles understanding and configuring the blog, but fortunately, I was able to overcome them all and setup my very own personal GitHub.io page :)
I watched some videos on YouTube, however most of them missed a really important part, the part of setting up Jekyll on windows 10 and compiling the source code into a static website. Jekyll is not officially supported on windows, but there are workarounds to setup Jekyll on windows, which I will discuss in this post. I figured it would be really helpful for first timers to have a useful guide on how to setup a GitHub.io page using Jekyll on Windows 10.
Pre-Requisites
Before you start, you will need Windows Subsystem for Linux aka Bash on windows feature enabled.
If you have no idea on how to get the bash setup, refer to this wonderful guide
Step 1. Download the Theme
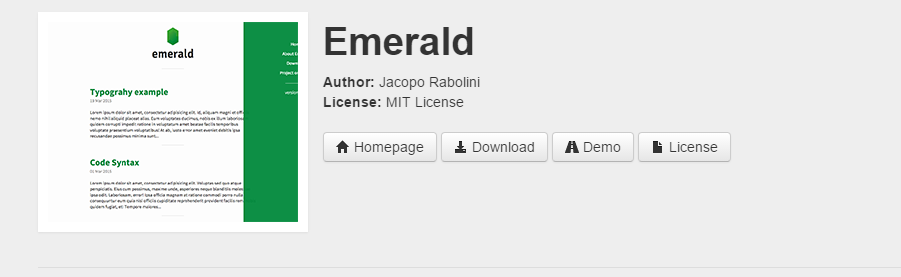
After you are done setting up, the next part is choosing a wonderful theme for your blog. Head over to Jekyll Themes to find a theme. I will be using Emerald theme for our example. Click the download link to download the zip file containing the source files.
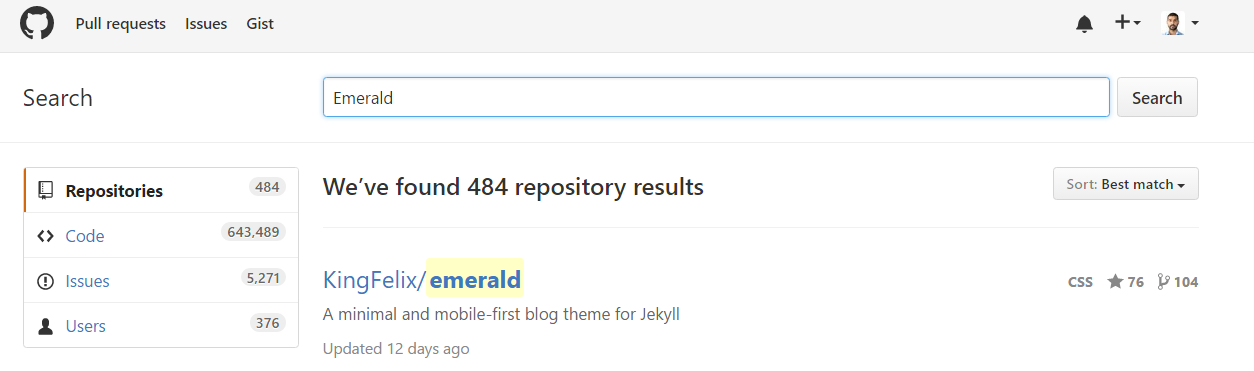
Alternatively, you can go to github.com and download the source code from the GitHub repository KingFelix/emerald
Step 2. Setting up the Windows 10 environment
Now we will setup our local environment required to build the source code that we just downloaded on Windows 10. There are different ways to setup a Jekyll server locally which you can use as desired. The one I found most convenient was installing the packages on the bash shell and setting up a Jekyll server on Bash.
Extract the zip file and open the bash shell. We need to install ruby and jekyll before we do anything. Here are the steps to follow.
Step 2a. Switching to Root
We need root permissions to install the packages, else you will get a permission denied error.
sudo -s Step 2b. Installing gcc and make:
Since the ubuntu bash shell is almost empty and has no packages like gcc and make installed, we will install gcc and make.
apt-get update
apt-get install gcc
apt-get install make
Step 2c. Installing Ruby from Brightbox [Recommended Method]:
We will need ruby and ruby-dev package to compile and build the Jekyll code and its dependencies.
The reason why we need ruby-dev is because some Jekyll dependencies are just source files, which need to be compiled into binaries/executables.
apt-get install software-properties-common
apt-add-repository ppa:brightbox/ruby-ng
apt-get update
apt-get install ruby2.3 ruby2.3-dev
Step 2c. Installing Ruby [Alternate Method]:
Make sure the ruby version is at least 2.0 as jekyll requires a minimum ruby version 2.0. The current latest stable release is 2.3.1.
apt-get install ruby
apt-get install ruby-dev
Step 2d. Setting the Ruby version:
Just to be sure, change the default Ruby version to 2.3, we can switch the default Ruby version using the ruby-switch tool.
apt-get install ruby-switch
ruby-switch --set ruby2.3
ruby -v
Step 2e. Installing Bundler:
Bundler is an easy way to track and install the required and dependent gems which will make our life easier, therefore it is a good time now to install bundler.
Once installation completes check the version using the -v flag.
gem install bundler
bundler -v
Step 2f. Installing Jekyll:
Even though Jekyll is not supported officially on Windows, it is fully supported on Linux, therefore we will take advantage of that.
To install Jekyll run the following command and it will install all jekyll and its dependencies.
Once installation completes check the version using the -v flag.
gem install jekyll
jekyll -v
Step 3. Building and serving website
Extract the zip file you downloaded in step 1 and go to the download location from the bash shell.
All the local drives are present in the /mnt/ folder.
For example:
Windows Location: D:\emerald-master\emerald-master
Bash Location: /mnt/d/emerald-master/emerald-master
cd /mnt/d/emerald-master/emerald-masterStep 3a. Configuring the _config.yml file:
Open up any text editor and edit the _config.yml file before we start building.
Add the following line in the build settings “gems: [jekyll-paginate]”.
jekyll-paginate is a plugin which helps us in displaying the posts into a smaller list of posts on the main page.
After adding the line your build setting will look something like this.
# Build settings
baseurl: /emerald/ # Change this to your relative path (ex: /blog/), or leave just a /
markdown: kramdown
source: .
destination: ./_site
permalink: /:title
paginate: 8
paginate_path: /page:num/
gems: [jekyll-paginate]
Step 3b. Building and serving the website locally:
Navigate to the root of your source code folder containing the _config.yml to build and serve the website and execute the following command.
jekyll serveJekyll monitors your source code and regenerates files on the fly by default.
This is termed as watching the source folder for any changes, and in some cases, Jekyll might fail to watch when you try to serve your website.
If you get an error similar to "Error: Invalid argument - Failed to watch", just execute the following command and would resolve your issue.
jekyll serve --force_pollingIf in some cases it still fails to watch, just serve the website using the --no-watch flag, which essentially means you will have to build and serve every time you make a change.
jekyll serve --no-watchStep 3c. Opening the website locally:
Once the build and serve are completed in step 3b, you should get an output similar to the one given below. There are 3 main elements to look out for
Configuration file: This tells us the configuration file used. Make sure the correct file is used.Destination: This tells us the output folder, in which the source code is built into.Server address: This tells us the local address of the website, which we can use to visit our website hosted on a local server.
Go to the server address http://127.0.0.1:4000/emerald/ to see your website.
Configuration file: /mnt/d/emerald-master/emerald-master/_config.yml
Source: .
Destination: ./_site
Incremental build: disabled. Enable with --incremental
Generating...
                    done in 0.744 seconds.
Auto-regeneration: enabled for '.'
Configuration file: /mnt/d/emerald-master/emerald-master/_config.yml
Server address: http://127.0.0.1:4000/emerald/
Server running... press ctrl-c to stop.
Step 4. Hosting and uploading the website on Github.io
After you have setup and tested everything locally, the next part is setting up a GitHub repository with the username.github.io, where username is your username on GitHub. Be very careful to make sure the username is correct, as a mismatching username will not work. Once a new repository is created online, we will upload the site that we have built locally onto the repository username.github.io.
Step 4a. Setup and push your code to GitHub repo username.github.io:
Note the destination folder in step 3c, the default destination folder is _site.
From your root source folder, navigate into the _site folder, initialize a new git repository, commit the change and push them to
repository username.github.io. GitHub gives the option of hosting your markdown code in the master branch and static website
code in the gh-pages branch. In our case we will be hosting just the static website code on the master branch, rather than two seperate branches.
cd _site/
apt-get install git
git init
git add .
git commit -m "initial commit"
git remote add origin https://github.com/username/username.github.io.git
git push -u origin master
Step 5. Final check
Once your code is successfully pushed, you can go to the repository settings and confirm everything is working correctly.
https://github.com/username/username.github.io/settings
Go to https://username.github.io/ to see your website in action.
Making changes and updating the website: Repeat step 3b , 3c, 4 and 5 For step 4 repeat only
git add .
git commit -m "initial commit"
git remote add origin https://github.com/username/username.github.io.git
git push -u origin master
Final note
If you still face any problems or have any questions, feel free to leave a comment and I will be happy to help. Cheers :)
Check out the links below for detailed information:
Jekyll on Bash on Ubuntu on Windows
Run Jekyll on Windows