Adding appointments to Windows 10 Calendar using C#
Overview
Working different shifts? Having trouble updating the Windows 10 Calendar with repetitive tasks? I had the same issue, so I decided to make it as less painful as possible. :) This blog post is a result of my laziness to update calendar everytime I encounter a new weekly schedule. This program reads the data from a text/csv file and updates the calendar, based on the appointments in the file.
Picking a File using FileOpenPicker class
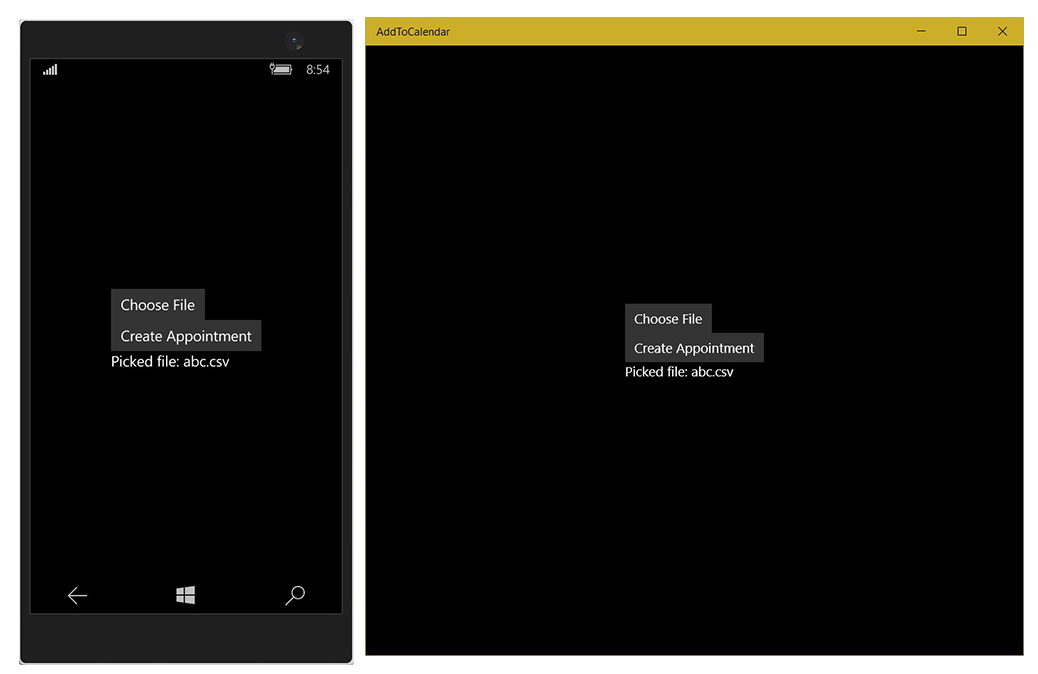
The first step is to choose a file that contains the appointments in particular format. I chose the format Subject,Date,StartTime,Duration as comma separated values.
This is what my csv file looks like.
Subject,Date,StartTime,Duration
Test1,16-04-2017,10:00,8.5
Test2,24-04-2017,14:00,4
Reading from the chosen file
I used the FileIO.ReadLinesAsync method to read from the file and store them into an enumerable list of the type string. Once the appointments are stored
in a list, the items in the list are read one by and each item is split based on the delimiter.
// Store contents of the file into an enumerable List.
IList<string> lines = await FileIO.ReadLinesAsync(file);

// Split the contents of the line based on the delimiter
string[] appointmentDetails = line.Split(chDelimiter);
Initializing the Appointment object
Windows 10 SDK provides an API Windows.ApplicationModel.Appointments, through which we can manage appointments.
Once the item in the list is split based on the delimiter, respective properties of the initialized Appointment object are set based on the values in the file.
// Create a new Appointment object
Appointment appointment = new Appointment();

// Expected format of string: Subject,Date,StartTime,Duration
appointment.Subject = appointmentDetails[0];
DateTime dateTime = DateTime.ParseExact(String.Format("{0} {1}", appointmentDetails[1], appointmentDetails[2]),
                                        "dd-MM-yyyy HH:mm",
                                        System.Globalization.CultureInfo.InvariantCulture);
DateTimeOffset startTime = new DateTimeOffset(dateTime);
appointment.StartTime = startTime;
appointment.Duration = TimeSpan.FromHours(float.Parse(appointmentDetails[3]));
appointment.Reminder = TimeSpan.FromHours(1);
Adding appointment to the calendar
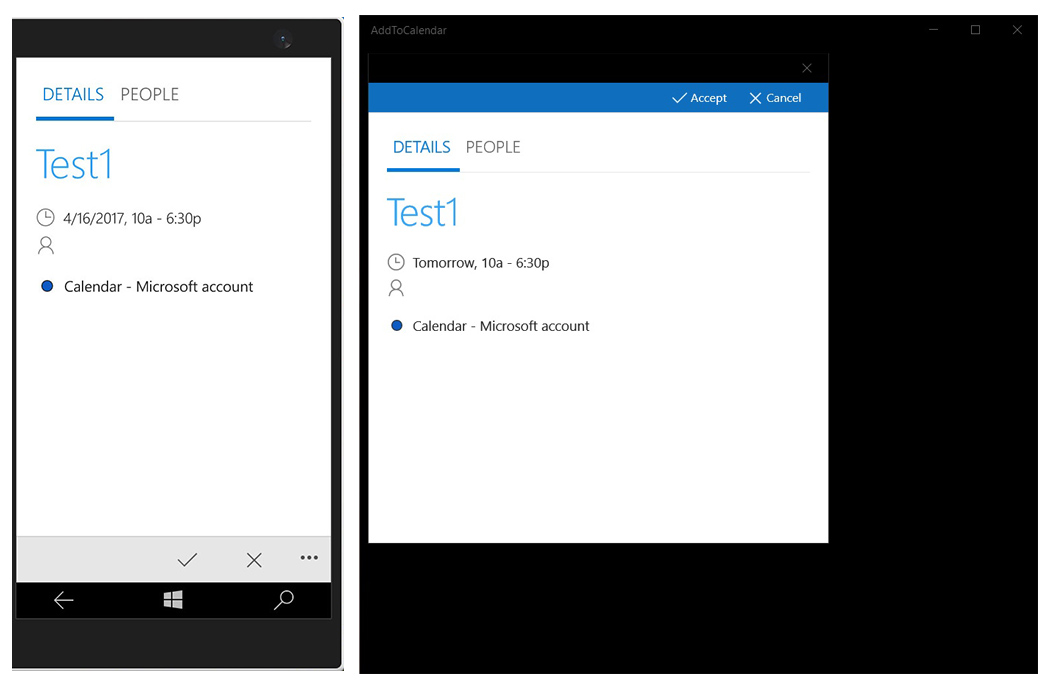
Once the required properties of the Appointment object are set, we will invoke the method Windows.ApplicationModel.Appointments.AppointmentManager.ShowAddAppointmentAsync,
with the following parameters:
Appointmentobject: This object contains the information regarding the appointment being added.Rectobject: As per MSDN documentationRectis the rectangular area of user selection (for example, pressing a button), around which the operating system displays the Add Appointment UI, not within that rectangular area. For example, if an app uses a button to show the Rect, pass the Rect of the button so the Add Appointment UI displays around the button, not overlapping it.
When this method call concludes, it returns a string object containing the appointment identifier, which is used when updating or removing an appointment. If the return string is empty, it means that the appointment was not added.
String appointmentId = await AppointmentManager.ShowAddAppointmentAsync(appointment,rect);
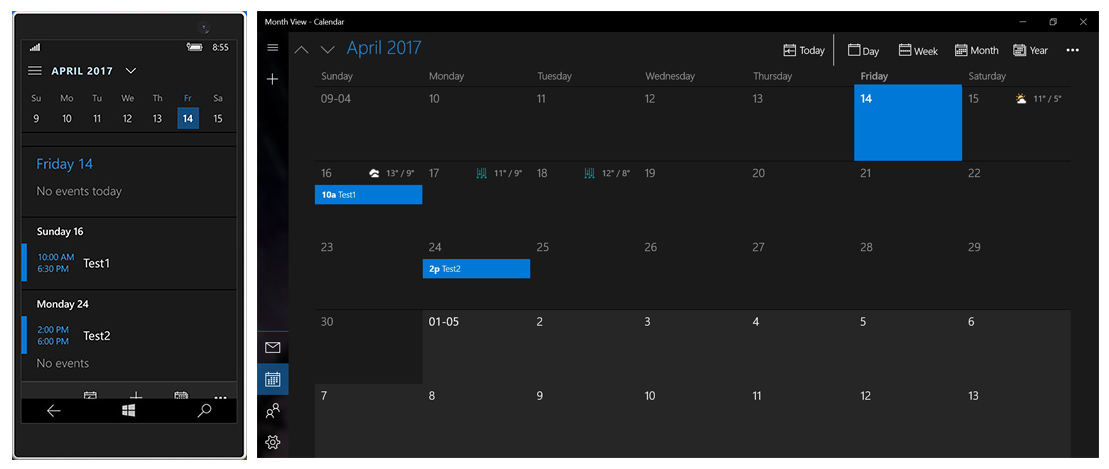
Appointment added
Once the appointment is confirmed via the Add Appointment UI, it gets added to the calendar app. Do keep in mind that you have to have an outlook account setup on windows phone for this to work. In case of Windows 10 on desktop this is not the case.

Final note
Once you have everything setup, you just have to edit the file and you are just one click away from adding all the appointments. If you have any questions or concerns, feel free to leave a comment.